

DIY – Sleeping bag liners.
Unashamedly taken from the "two canoe" blog
(because good know-how is worth sharing)!
(For reference purposes check out our Dunelm mills link for a source of fleece material in the uk, the excellent two Canoe blog is a canadian blog, so expect to see Canadian dollar signs along the way)
Unashamedly taken from the "two canoe" blog
(because good know-how is worth sharing)!
(For reference purposes check out our Dunelm mills link for a source of fleece material in the uk, the excellent two Canoe blog is a canadian blog, so expect to see Canadian dollar signs along the way)
One of the best parts of camping, and spending time in the great outdoors is that it can be relatively low in cost.
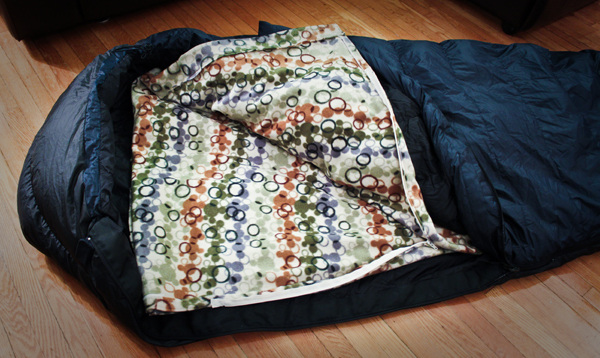
Affordable gear can be easy to find in big box stores and speciality stores, but a great way to stretch your hard-earned dollars is to make your own gear. One piece of gear that the TwoCanoe gang each own and swear by, is a handmade fleece sleeping bag liner.
We like to start the camping season early, and we love to end it late. Doing so means that we’re usually sleeping in temperatures rated below our current sleeping bag temperature values. To add warmth to our bags we’ve each made microfleece or standard fleece bag liners using fabric purchased at our local textile shop. During the summer when the weather is warmer and we don’t need much to cover up at night, they can also be used as our sole sleeping bag. They are low cost, and can range anywhere from $10-$22 depending on prices at your local stores.
I’ve outlined the steps below to make your own. This version includes a zipper which takes a bit more time and effort, while the zipper-less option is a little easier, but equally as effective.
Here’s what you’ll need for the zipper version:

| 
|
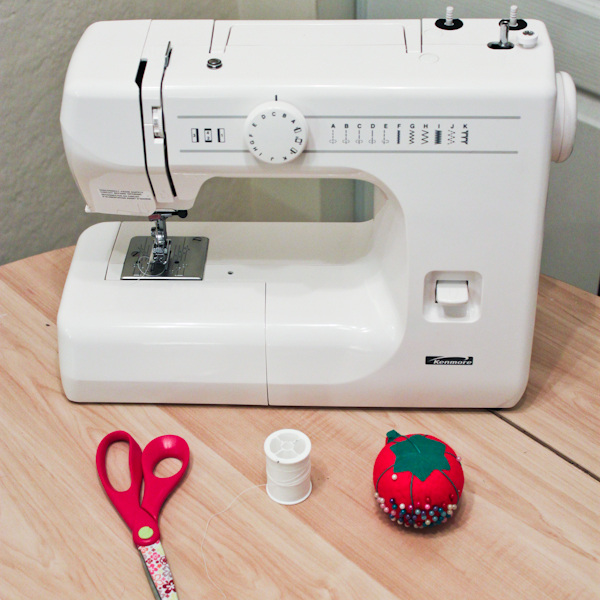
• 2m of fleece, 54″ or 56″ wide in your choice in pattern and thickness. We like microfleece, it compacts well and is lightweight, but standard fleece will work as well
• Thread
• Scissors
• Straight Pins
• Sewing Machine (or you could simply hand sew if a machine is not available)
• Zipper – Plastic close-ended preferred (In my images I used a 30″ open-ended as this is all I had)
• Fabric Pencil or non-bleeding marker
Step 1
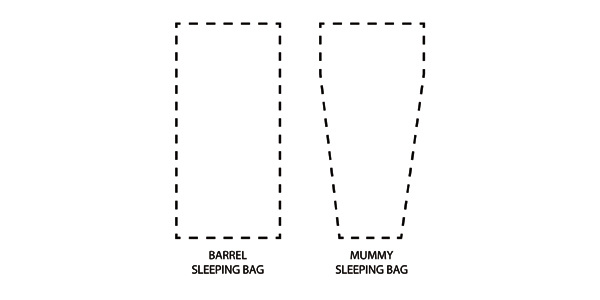
Fold the fleece lengthwise with the pattern (right side) facing the inside. Using your current sleeping bag, trace it’s shape with a fabric pencil or any kind of marker that doesn’t bleed through the fabric. Include 2-3 inches extra on each side for seams. Note: The following diagram shows the two styles of sleeping bag which you can base your shape off of – Barrel and Mummy bags.
• Thread
• Scissors
• Straight Pins
• Sewing Machine (or you could simply hand sew if a machine is not available)
• Zipper – Plastic close-ended preferred (In my images I used a 30″ open-ended as this is all I had)
• Fabric Pencil or non-bleeding marker
Step 1
Fold the fleece lengthwise with the pattern (right side) facing the inside. Using your current sleeping bag, trace it’s shape with a fabric pencil or any kind of marker that doesn’t bleed through the fabric. Include 2-3 inches extra on each side for seams. Note: The following diagram shows the two styles of sleeping bag which you can base your shape off of – Barrel and Mummy bags.
Step 2
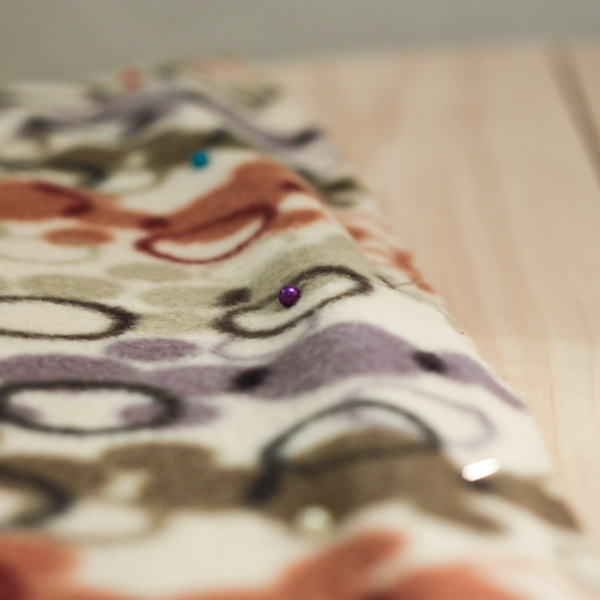
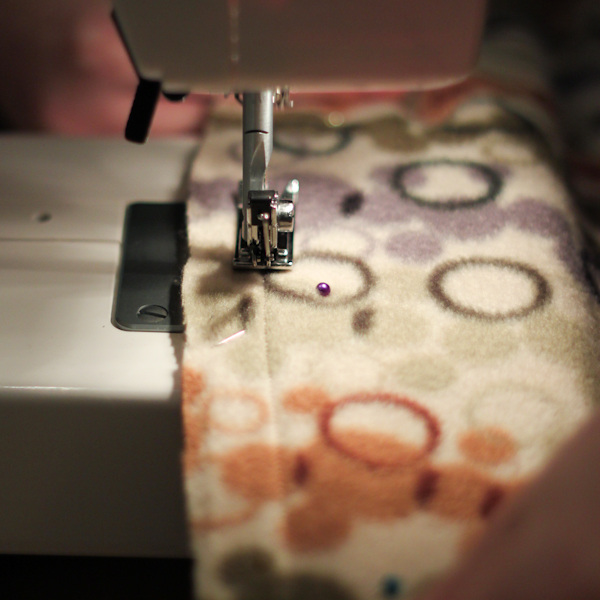
With both pieces of your fabric kept together, cut the folded side – I know this may seem counter-productive seeing as you will end up sewing it up again after, but trust me, this will make the process of sewing in the zipper on the opposite side much easier. Fully pin one of the sides. When you are finished pinning, sew along that side using a basting stitch (aka loosest stitch your machine will make). This loose stitch is required because you will later be removing this thread.
With both pieces of your fabric kept together, cut the folded side – I know this may seem counter-productive seeing as you will end up sewing it up again after, but trust me, this will make the process of sewing in the zipper on the opposite side much easier. Fully pin one of the sides. When you are finished pinning, sew along that side using a basting stitch (aka loosest stitch your machine will make). This loose stitch is required because you will later be removing this thread.
| 
|
Step 3
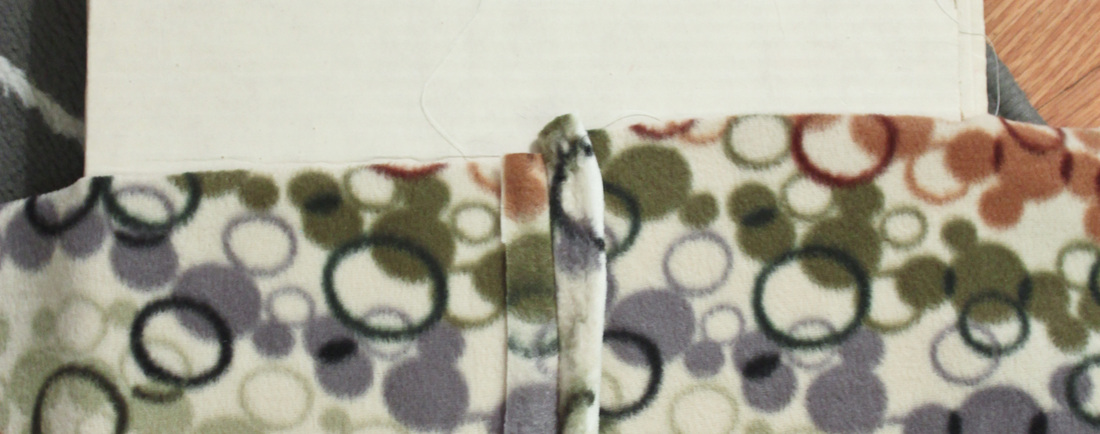
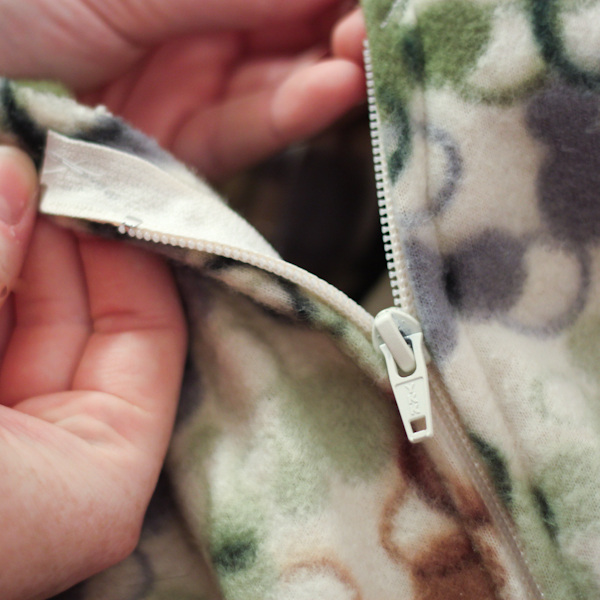
Now that one side of your bag is sewn, open your fabric with you seam upwards. Butterfly the edges of the seam as shown in the image below. Do this down the full length of the fabric. Now it is time to position the zipper. Positioning will depend on the length of, and where you want to place the zipper. Keep the top edge of the zipper close to the top edge of the bag. Remember to leave excess material at the top of the material to finish the edge around the opening of your liner. I chose to start this zipper 6 or 7″ from the top of the fabric.
Now that one side of your bag is sewn, open your fabric with you seam upwards. Butterfly the edges of the seam as shown in the image below. Do this down the full length of the fabric. Now it is time to position the zipper. Positioning will depend on the length of, and where you want to place the zipper. Keep the top edge of the zipper close to the top edge of the bag. Remember to leave excess material at the top of the material to finish the edge around the opening of your liner. I chose to start this zipper 6 or 7″ from the top of the fabric.
Step 4
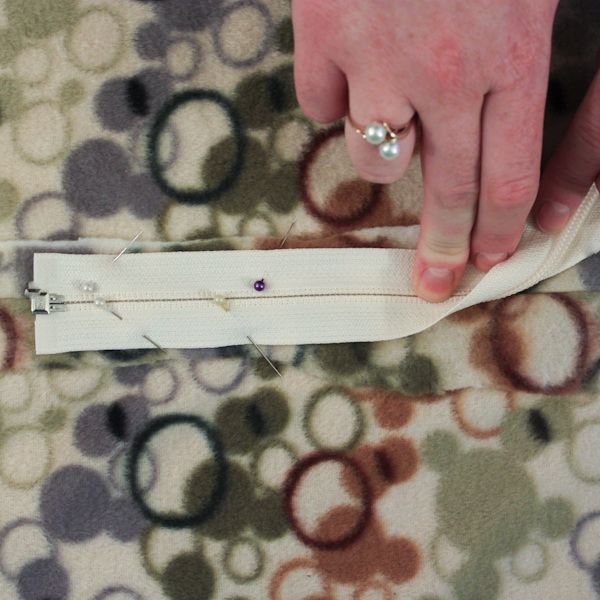
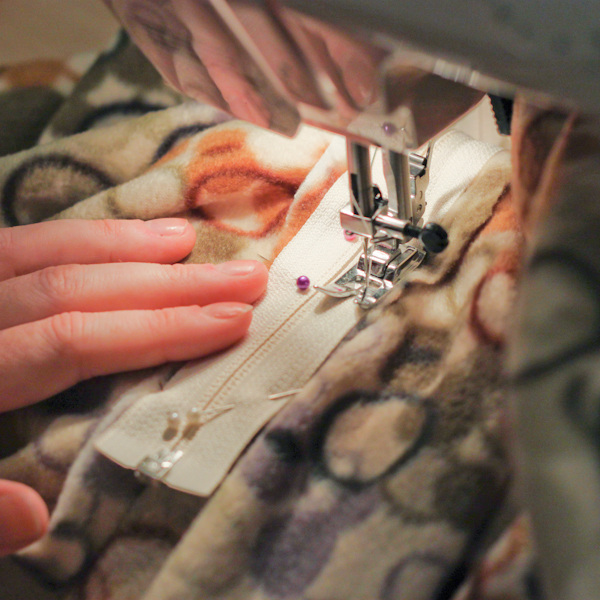
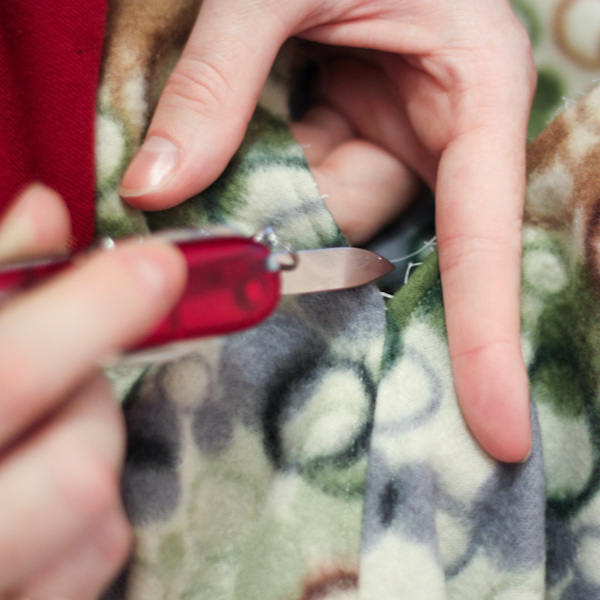
Place the zipper face down, lining it up with the seam you just created. Pin it in place. Once pinned, sew your zipper in place along each side. A zipper foot is helpful for doing this, but not required. When you’re finished sewing, you can now remove the loose stitch from step 2. Pull and carefully cut from the front facing side of the zipper, removing excess thread as you go. You can do this using a seam ripper tool if you have one, otherwise scissors or a sharpened swiss army knife will do the trick. The hardest part is complete! Now its just a matter of finishing the remaining edges.
Place the zipper face down, lining it up with the seam you just created. Pin it in place. Once pinned, sew your zipper in place along each side. A zipper foot is helpful for doing this, but not required. When you’re finished sewing, you can now remove the loose stitch from step 2. Pull and carefully cut from the front facing side of the zipper, removing excess thread as you go. You can do this using a seam ripper tool if you have one, otherwise scissors or a sharpened swiss army knife will do the trick. The hardest part is complete! Now its just a matter of finishing the remaining edges.
| 
|
| 
|
Step 5
Realign your edges so that the right side of the liner is facing in. From here, pin the open edges on the side and bottom of the liner. Sew these seams. Your liner now has it’s shape and is almost complete.
Step 6
To finish the top edge, simply fold, pin and sew. If you want to include a drawstring at the top to cinch out some extra cold, fold enough material to add a drawstring through the tunnel that is created by the fold. When complete, pull the pattern (right side) side of the liner so that it is facing out and you are all done!
The project takes approx. 1 hour to complete. If you are a wizard on the sewing machine, then it will take even less time. I hope you enjoy your newly made liners and get much warmth and use out of them this camping season!
 RSS Feed